Ha Giang Photography: Build an Itinerary Around Time, Not Viewpoints
Build a Ha Giang photography itinerary around observation time, varied landscapes, accurate captions and respectful portraits of local people.
 Cat Ba Connect3 min read
The short answer
For better Ha Giang photographs, choose fewer stops with time to observe rather than a longer checklist. Quan Ba, the Dong Van plateau and Ma Pi Leng offer different subjects, while village and market photography require consent and cultural context.
Give each landscape a different role
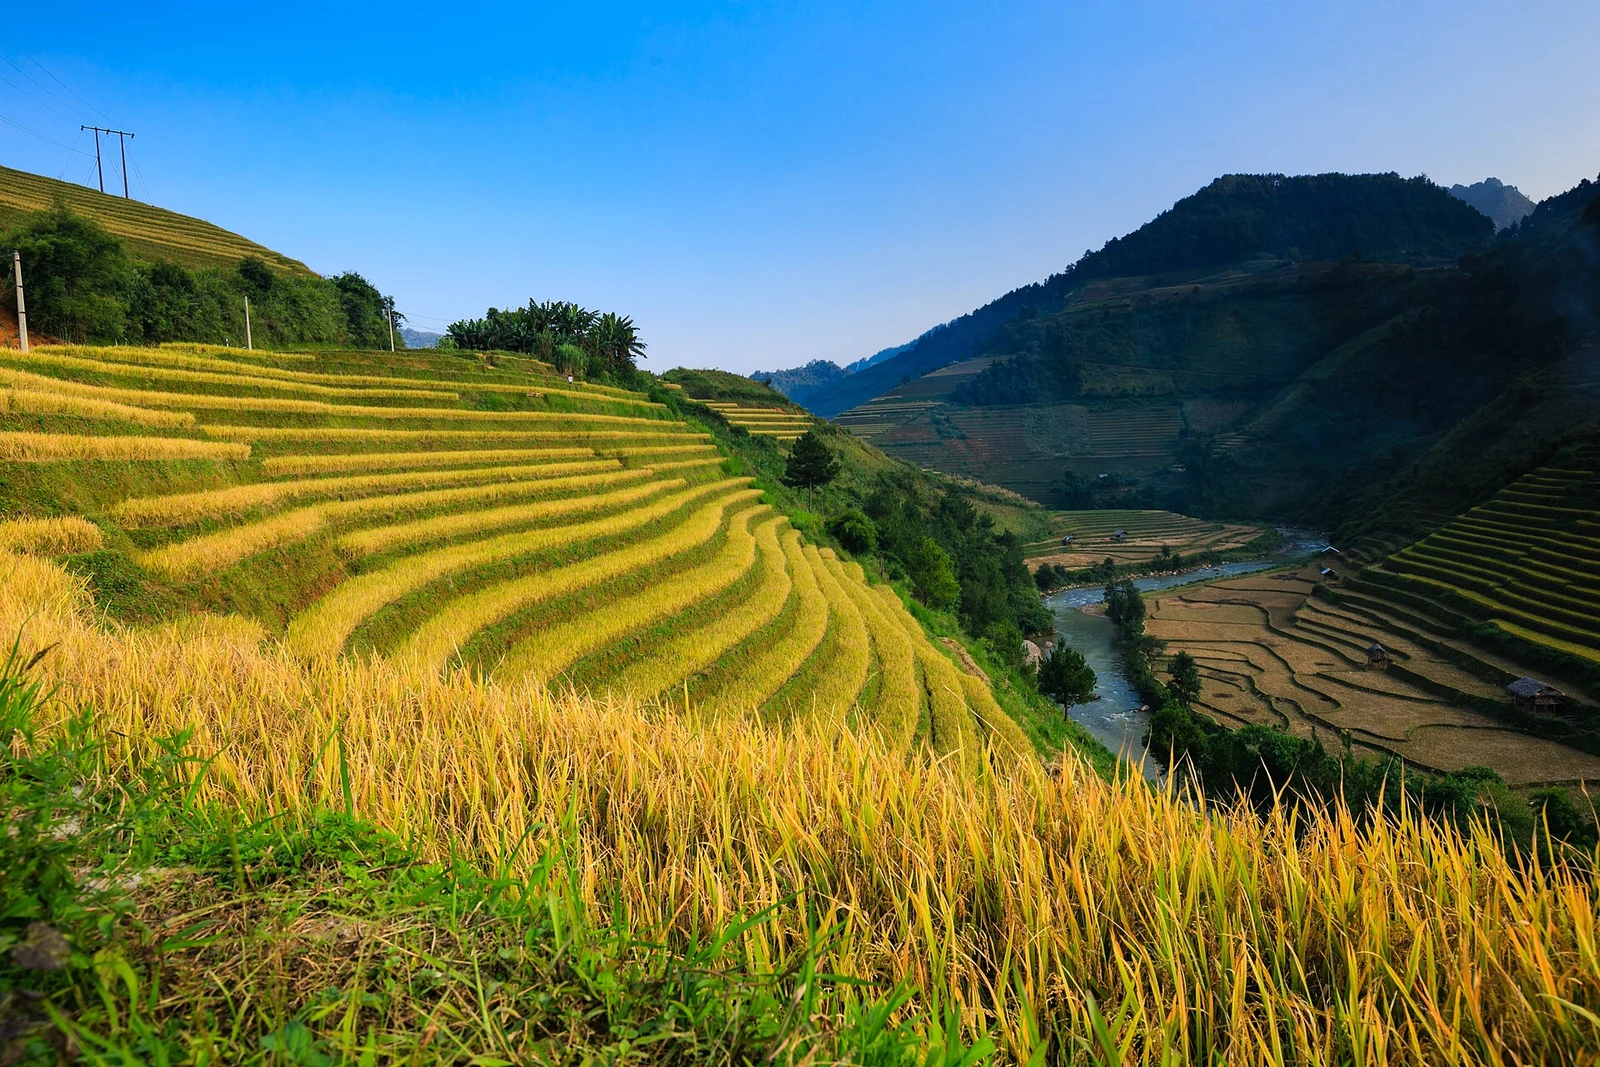
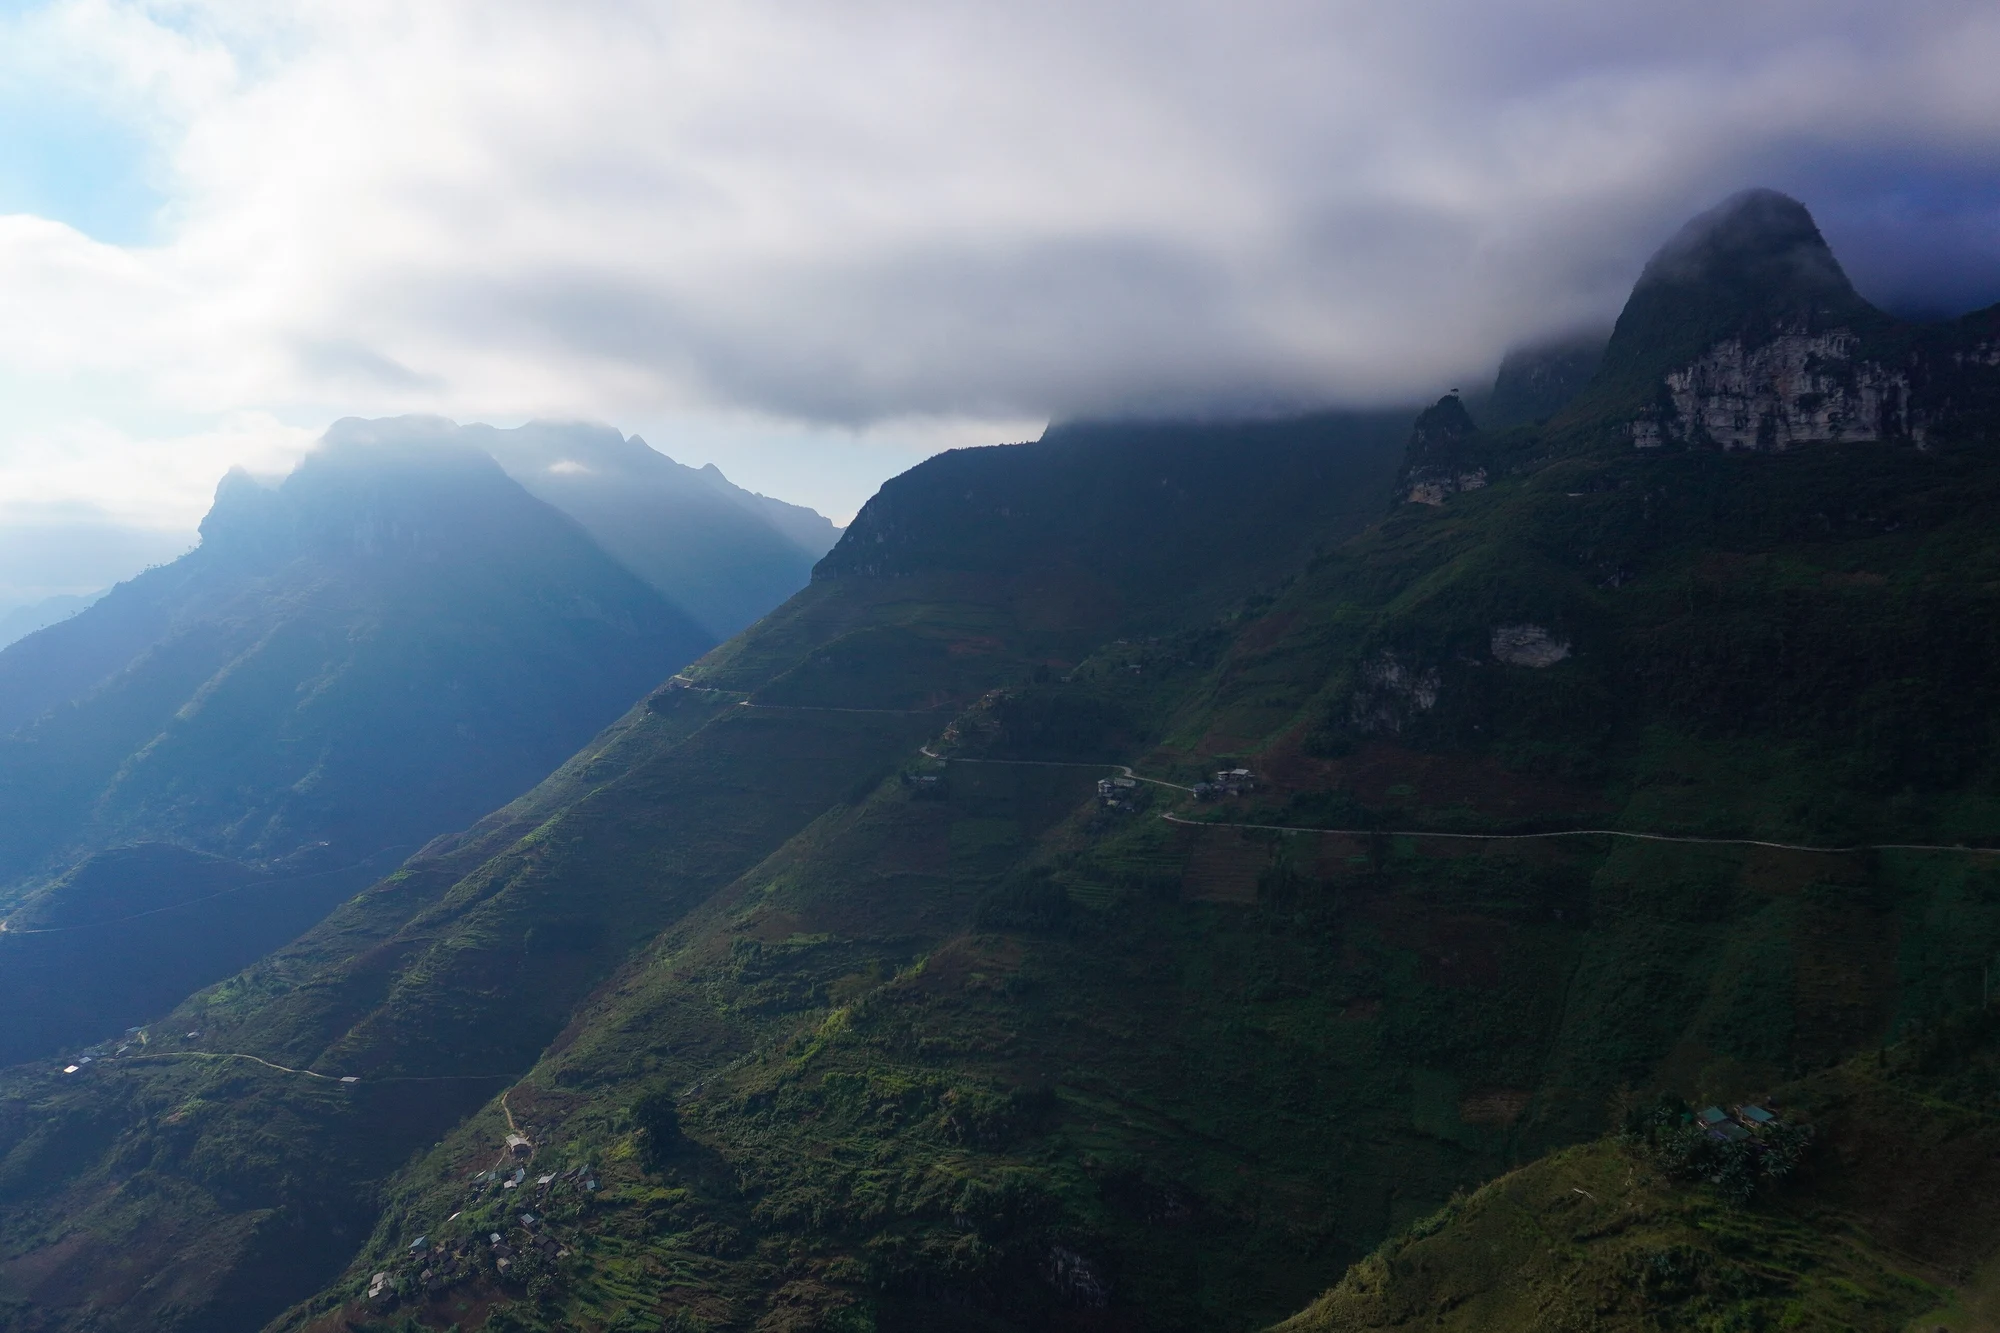
Quan Ba provides a valley introduction, the plateau brings close limestone textures and Ma Pi Leng opens onto the canyon. Using these as different subjects prevents a collection of near-identical roadside panoramas. Look for a wide scene, a middle-distance detail and something that explains daily life. This is an editorial approach to your photographs, rather than a guarantee of particular light or weather.
Choose the route around usable time
Flipside and Motorventures both discuss how itinerary length affects stopping opportunities, although their views on the comfort of three days differ. For photography, compare the actual daily schedule. A four-day tour with many extra detours may leave less observation time than a selective three-day route. Ask where the longest planned pauses are and whether any short walks are built into them.
Work with cloud rather than chasing it
Low cloud can remove a famous view while revealing layers in nearby slopes. Keep alternative subjects in mind: roof materials, field boundaries or an architectural detail in town. Avoid pressuring a guide to stop on an unsuitable road edge merely because the light has changed. A strong photo story can include imperfect visibility and explain what the mountain environment looked like that day.
People are participants, not scenery
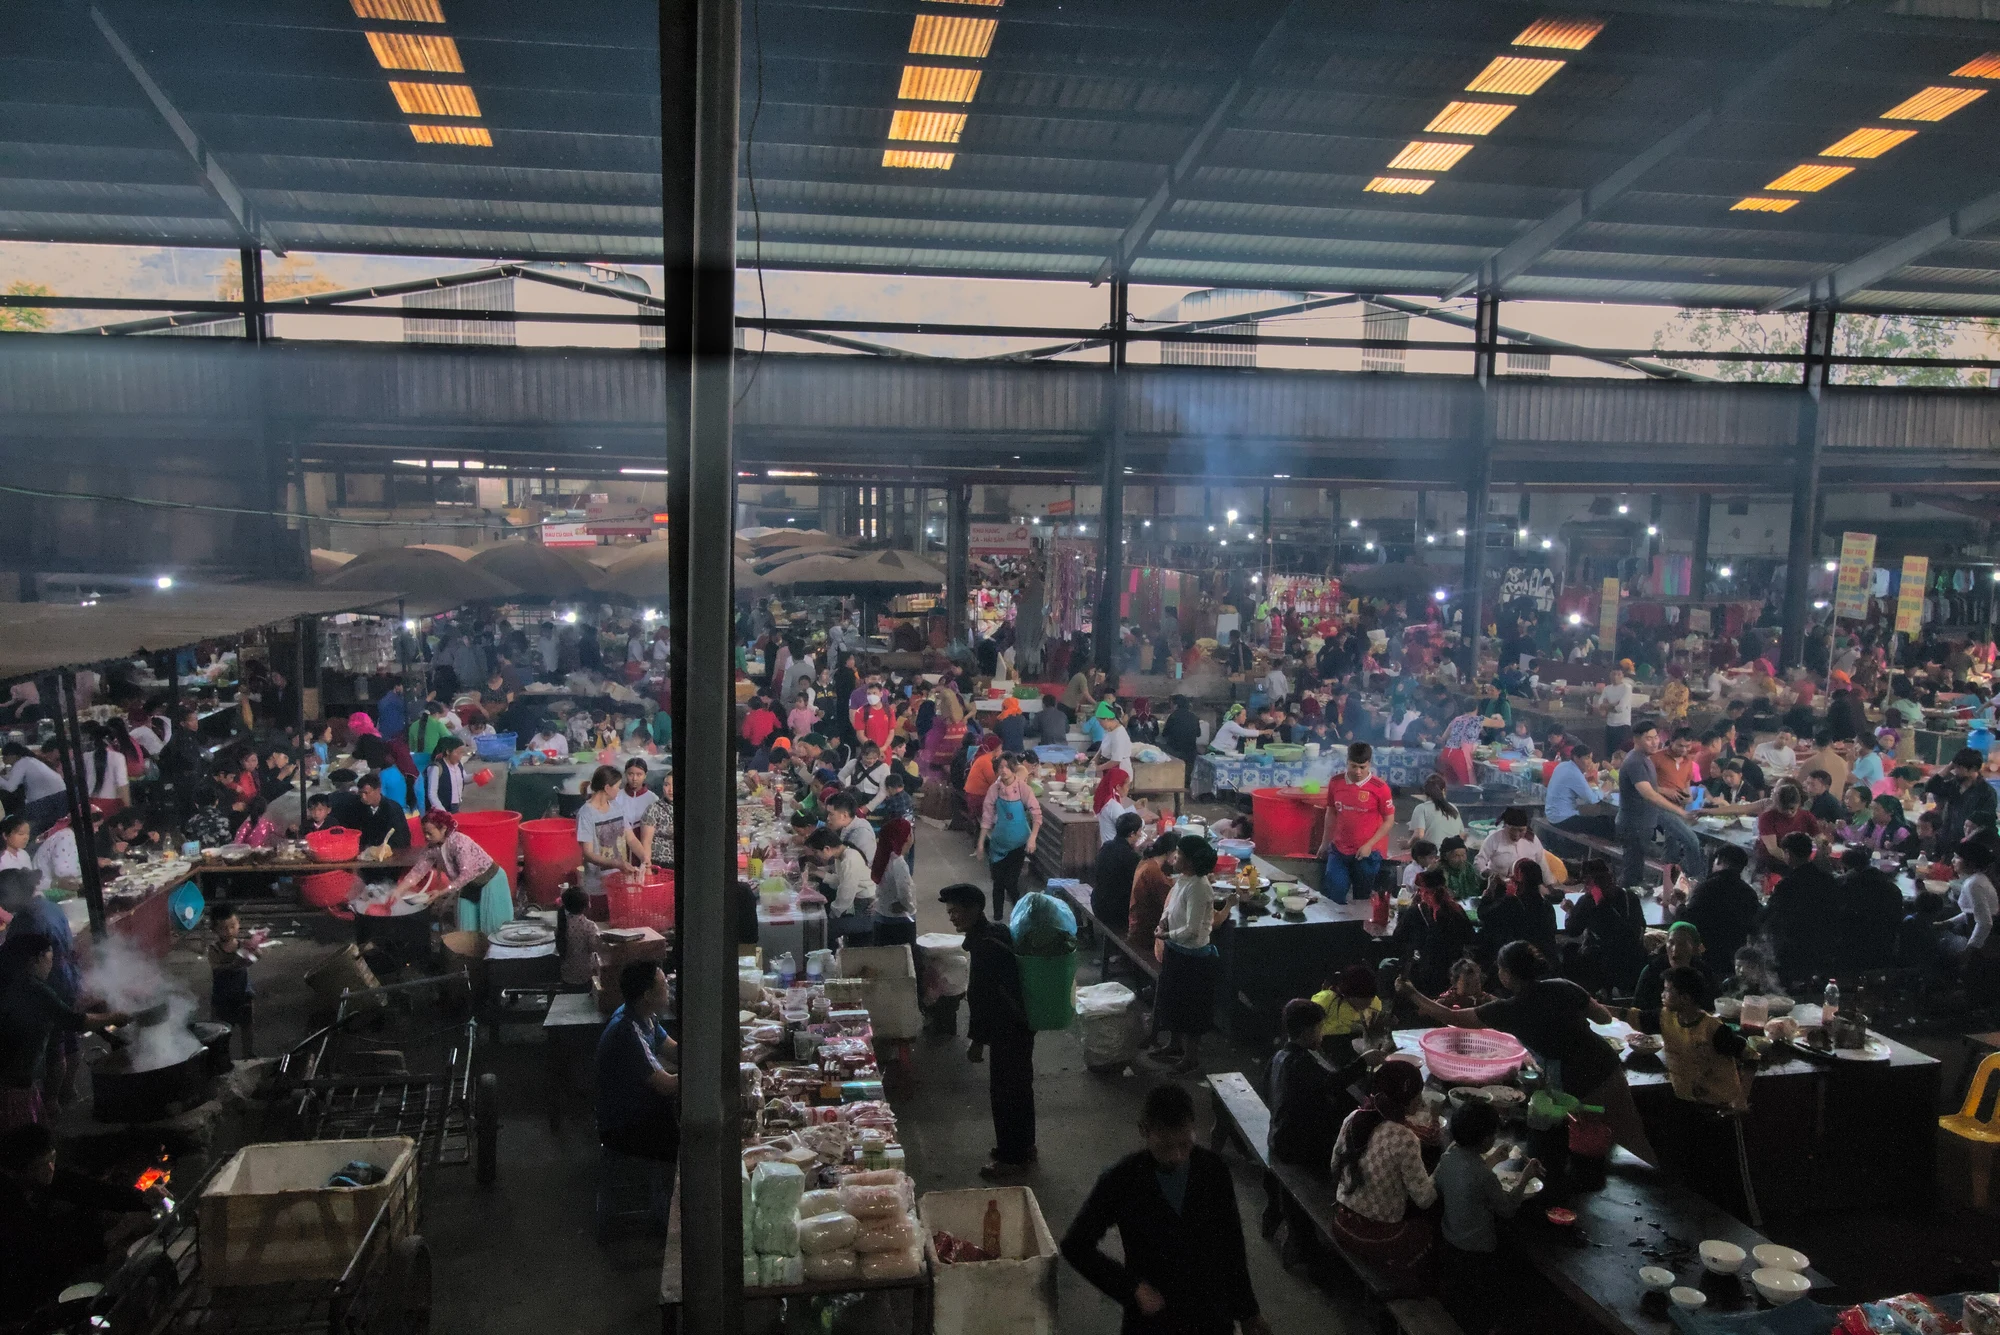
Motorventures' cultural guidance asks visitors to seek permission for close photographs. A guide can translate your request and explain local preferences. Accept a refusal without negotiating and avoid interrupting a transaction at a market. If an artisan agrees to a photograph, ask about the process first. Accurate captions are more valuable than assigning a generic ethnic identity based only on clothing.
Edit for a complete story
After the trip, select photographs that show a sequence: gateway valley, plateau, town, road and household or craft detail where permission was given. Add the correct location and explain uncertainty rather than guessing. This produces a useful travel record and helps other readers understand the route. The aim is not to imply that every visitor will reproduce the same weather, access or private encounter.
Write notes while names are clear
Keep a brief record of locations and the explanation supplied by your guide. Road trips can make successive villages blur together in memory, especially when the landscape changes quickly. A small note after a stop is easier than reconstructing every caption from an image later. Where a name or interpretation is uncertain, leave it uncertain. A useful travel photograph tells readers something accurate about the place, rather than borrowing a famous location name because the scenery looks similar.
Questions travellers ask
Is four days better for photography?
Often it provides more flexibility, but compare the route and actual stopping time.
Can I photograph people at markets?
Ask permission for close portraits and respect anyone who declines. A guide can help communicate.